 When you’re talking about pedalboards, power is SO key. Obviously, you need to power up your pedals, and finding a solution that is easy and scalable is important. Usually with starting guitarists, budget is a major factor and is the big reason why individual power supplies (wall warts) and batteries is usually the starting point. As the guitarist’s needs grow, those wall warts, power strips, etc turn into a hassle. Other solutions like One Spots come in to play, which accomplishes the primary goal – powering pedals.
What guitarists don’t usually factor in these early stages – is how good is that power. Why do we care about how good the power is? Simple, noise and performance. Let’s talk about performance first. When you look at pedals, generally, they’re requiring 9V. Think of volts as water pressure, the bigger the volts, the more pressure going down the pipe. Pressure is not what the pedal needs.. they need milliamps (mA). Milliamps is what goes down the pipe to the pedal. If you daisy chain pedals, you’re dropping milliamps from one pedal down to the next. For the most part, this is ‘okay’ depending on what pedals you’re using. Depending on the circuitry, a pedal will require more or less milliamps compared to the pedal next to it.
Next, we can discuss noise. I hate noise. I mean.. I really, really hate noise. Noise is tough to diagnose and isolate. Especially when it’s power related. Power can be funny, you can get some bizarre cross talk, possibly some AC leakage, weird ground issues. Basically a million things that could do weird things to your set up.
So how can we address these issues? Simply, with a good power supply. This is where I want to talk about the Pedaltrain Powertrain 1250 power supply. I’ve been a long time supporter/user of Pedaltrain boards (I own a couple PT-2 and a PT-Pro boards). Their boards are fantastic!
Initially, Voodoo Lab Pedal Power 2+ was the popular option for these boards, so it’s great to see that Pedaltrain wanted to get in on the action as well! I was also really excited to see that they teamed up with Creation Audio Labs to develop this power supply. I’m also a big fan of CAL (I own and use the Holy Fire by CAL)
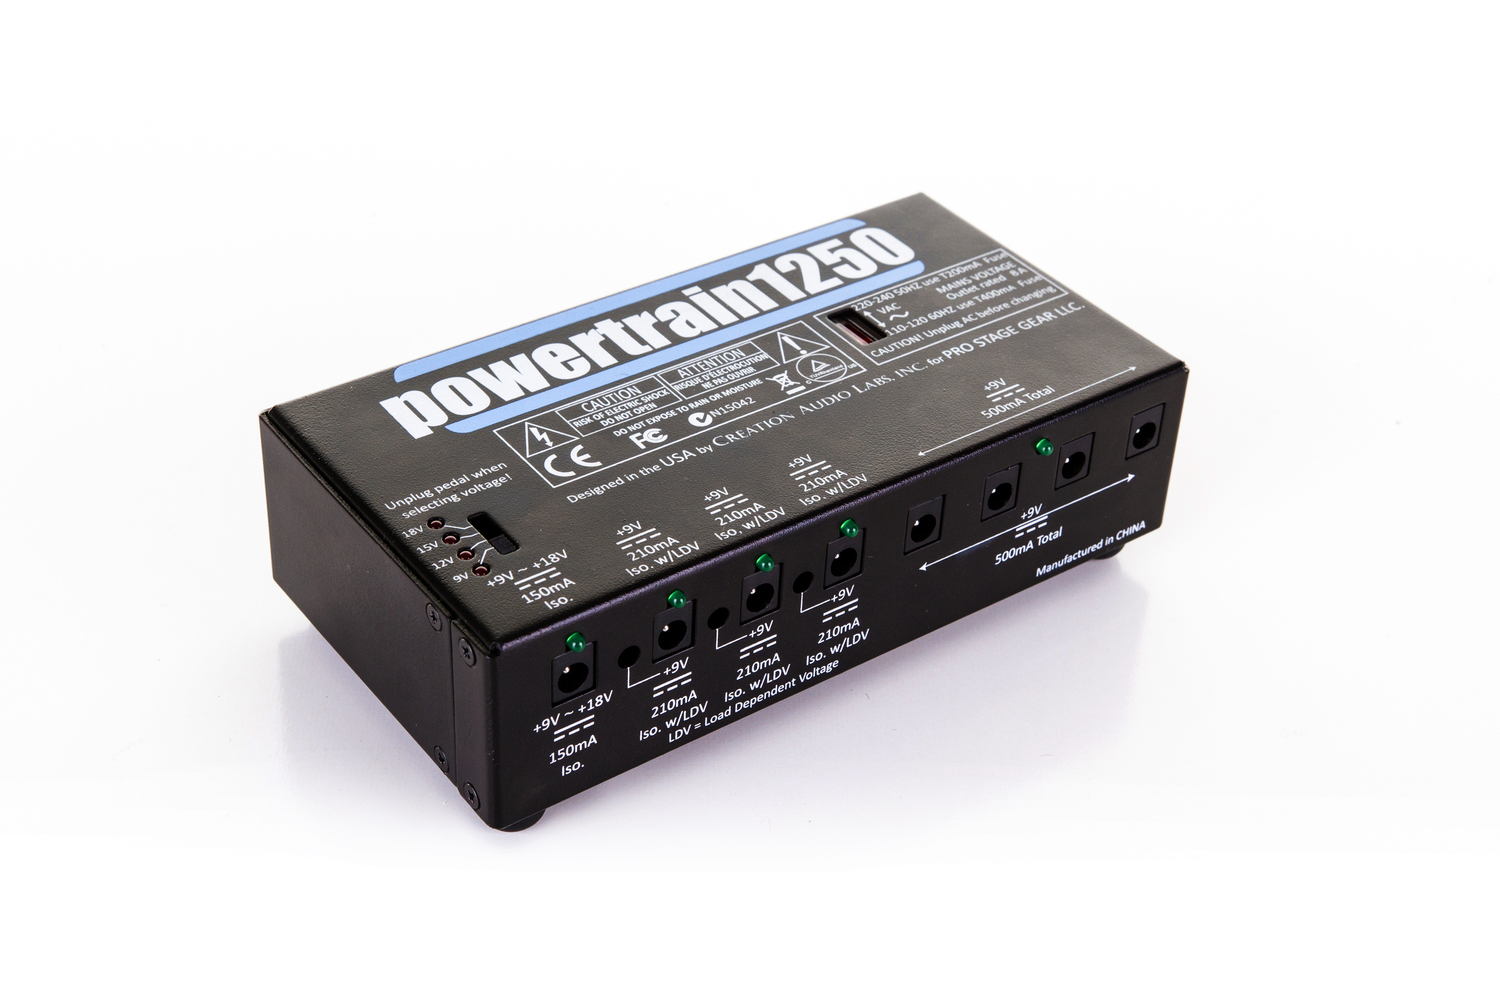
The first problem I discussed was the milliamp issue. With the Powertrain 1250 you get a total of 8 outputs. The first four give you 150mA, 210mA, 210mA, 210ma isolated. There is a bank of 4 shared providing a total of 500mA total. This should give you plenty of mA for your pedals to eat up!
The second problem I discussed was the cross-talk. Isolation is the best way to deal with this. If you have a pedal that is sensitive to sharing power, use the isolated outs for this. Additionally, you may have pedals that require.. or like more voltage. Some pedals require a minimum of 9V but sound great at 18V, there is one isolated output where you can select 9V, 12V, 15V or 18V with 150mA. For example, I use to own a Catalinbread DLS, that sounded amazing at 18V.
The unit can also be set to use 220-240VAC for European power. The product comes with various AC plugs depending on your location. US users will want that set to 110-120VAC.
 The unit is the same size as you would expect for the undercarriage power supply. I do like that the AC plugs are on the side, which will work with the modern Pedaltrain boards. Users with the older PT-2 might need to install the power supply to the side vs. the bottom, or settle with lifting the board to plug in the AC cord.
For this post, I wanted to walk you through installing the Powertrain 1250 on a Pedaltrain PT-Pro, depending on your board, you might want to position things differently.
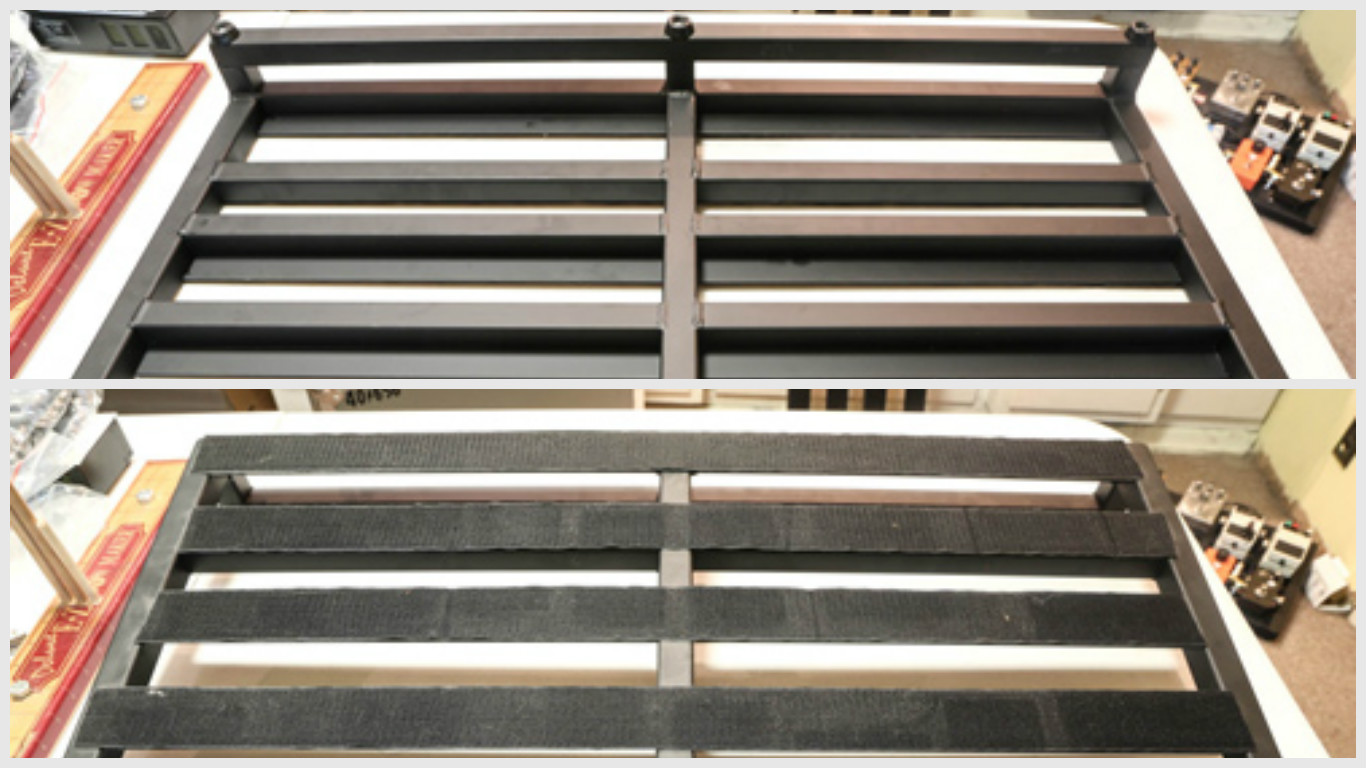
 I decided to place the Powertrain 1250 on the right side (bottom up) . The board is previously used, so I’ll need to remove the velcro from the top two rails. The Powertrain is mounted directly to the rails from the top.
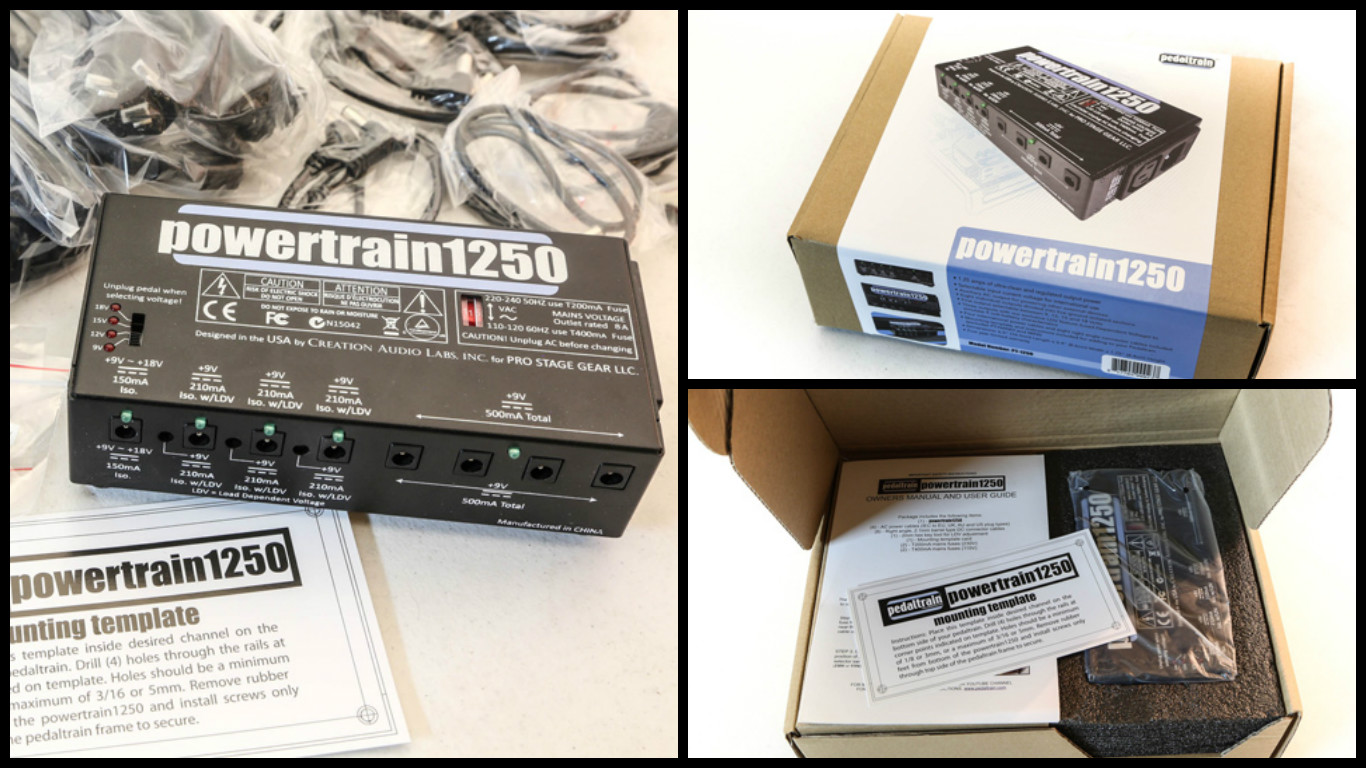
 Once you have determined the placement of the Powertrain, you’ll want to use the drill template. Securing it with tape is smart, the drill template is something you don’t want to move around at all. Once you have the template secured, you’ll need a drill and preferably a center punch. I use a spring loaded center punch to make a slight mark on the aluminum. This is useful so the drill bit doesn’t drift when you start drilling. The punch is not required, but will help drill that hole with some precision.
 The Powertrain 1250 comes with 4 rubber feet at the bottom of the unit. The feet are there if you want to set this on the floor, etc. You’ll need to remove these feet and either use those screws or use the other screws provided in the box. These will be the mounting screws. Use a hand drill to drill the holes. Now, I did run across a problem. The bottom two holes were easy to drill, but the chuck of my drill was obstructed by the top rail. Instead of drilling at an angle (remember, those drill holes need to be perfect). I used the two holes previously drilled as a guide for my template, and flipped the board and drilled the remaining holes from the top.
Once the holes are drilled, do a visual inspection to see if the holes line up. If they do, screw in the screws and you’re set. If not, you’ll need to get creative with widening holes, etc. But as they say, measure twice, cut (or drill) once. I would also recommend doing a small countersink on the top rails too to get smooth surface.
Take your time and do it right the first time, and you’ll be set. I’m super happy with the Pedaltrain Powertrain 1250. Very clean, easy to install, great options. What more can I say – except buy one for yourself! They’re available for $199 on Amazon.


Leave a Reply