 Pedal Kits are some of the funnest things for me. Tinkering has always been an interest, but I love the immediate satisfaction of interacting with something you build when its related to guitar. I still feel like it’s magic when I put something together that alters my guitar signal. It always provides some level of amazement.
The DIY ethic also lets you build pedals at far less costs than buying some of the boutique out there, but what you save in dollars, you spend in time and effort, so remember to consider that if you want to go down that road for more gear. The other great benefit it to have different gear on the board, than everyone else. I have a couple of pedals that I build, and I always get the “what’s that pedal” question when people see them.
If you’re considering getting into some pedal building, you will need some tools. I always look at tools as investments vs. expense. Having tools, is a great thing, and you shouldn’t wince about picking up some gear. I’ll outline some stuff you should get.
Digital Mutlimeter. The multimeter is so you can measure resistance, capacitance and voltage. To test continuity, transistors and LEDs. I use my multimeter ALL the time. You can go super cheap with meters, or you can go crazy expensive. If you’re just starting out, I think a cheap meter is okay. You’ll probably have to upgrade down the road, but something giving you some simple values. I personally would start with something in the $20-$30 range.
Soldering Iron. Getting a good soldering iron is important. I would avoid the standard iron you’d get at Radio Shack. I would highly recommend a temperature controlled iron (something you can turn up or turn down). I would also recommend a higher wattage iron. The higher the wattage the faster the temperature can adjust so you get better consistent temperature. Weller, Hakko, Velleman are some brands to look at. I personally have been using a Hakko FX-888D and love it. Something like this, I would spend something in the $80-$150 range
Solder. This is a tough one. You need to choose between leaded solder or lead free. If you’re new to soldering, I would recommend leaded solder. The lead-free stuff is hard to work with, and takes a lot of practice. You just want to get rolling. If you’re working with leaded solder, be sure to wash your hands (in cold water), never touch your mouth, never hold the solder in your mouth. I like Kester brand solder. For lead, I would look at 66/44 and the diameter of the solder should be .031″. You can get different amounts. I think they usually come in 1 lb. spools.. which will last you a long long time.
Clamps/Vise. This is a huge. And I’ll save you some misery. DO NOT BUY the classic station with the two alligator clamps and the magnifying glass. Ugh.. God, I hate those. The clamps always fall off. They’re not strong enough when you push down. You spend WAY too much time adjusting stuff. Total nightmare. If I could go back in time to change one thing with my electronics work, it would be to never pick those up. And you see tons of people using them. So…. this is what I recommend, and you can start things off right. Get a panavise! These are perfect for holding a PCB. The vise is strong enough that you push down with the iron and not have things move. Fully adjustable. I don’t mount my vise, but since the weight is heavy it doesn’t move around from the iron. I like spinning the vise around too, so no real need to move it around. I personally have 2 of these.. PanaVise 301 Standard. Only $36.49.
Audio Probe. Full disclosure.. this is my product. But damn it, I use it ALL the time when things aren’t working right with pedals. Like my previous post about debugging, this tool is great for gathering information about “what you know” is working or not working about a circuit. Basically, it’s a tool to bypass directly to the amp at points on the board to find out what the circuit is doing to your audio signal. Great for learning what components are doing, but primarily finding the failure point.
Now, let’s talk about this give away. Some of you are already geared up, some of you hopefully, will find the above items useful. So let’s talk about this great kit. As I mentioned MOD Kits DIY is a fantastic source of picking up great kits. The have a great selection of pedals, as well as cool amp and reverb tank. Totally a place to nerd out!
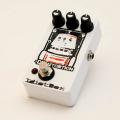
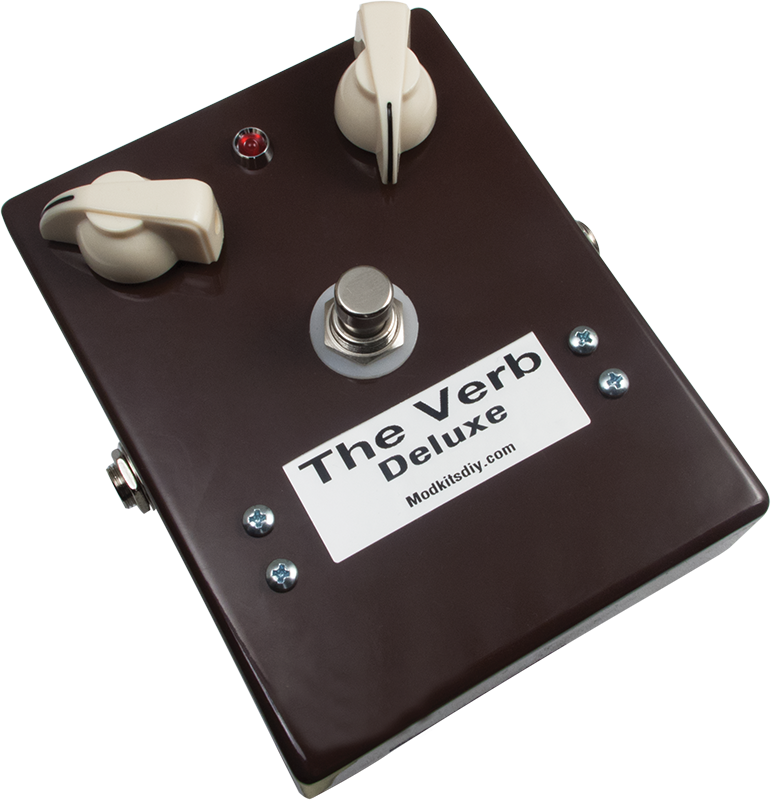
Our current give away is for the Verb Deluxe. Right now (and for a little while) reverbs are hotter than ever, so I asked that they send me one of those for this give away. The Verb Deluxe is built around the Belton Digi-Log Mini Module. The Belton Digi-Log Mini module is a 6 pin module that does the heavy lifting with creating the reverb effect. It’s a digital module, so instead of having a large spring reverb tank, you can get this into a pedal. Features of the pedal circuit include ‘Dwell’ and ‘Mix’ controls. I love their warning about this pedal – “Warning: The Verb Deluxe does not hold back on reverberation potential. At maximum dwell and mix settings you may be overtaken by a virtual tidal wave of sonic reflections.”
There is still time to enter this give away. All you need to do is to go to this post – “MOD Kits DIY Verb Deluxe Give Away” and fill out the entry form! Good luck everyone!

