 As a touring musician, one of the things that get you worried.. is theft. It’s a horrible thing to contend with, usually you keep your eye close to the gear, but in some cases, it’s incredibly hard to do. As a musician, you can purchase insurance, but you get attached to a piece of equipment. Maybe some of you can relate to a bit of mojo with a piece of gear that you can’t easily replace. A little while back I came across SNAGG RFID Microchip, and it got me interested. Basically, it’s a RFID chip that you implant into your gear. What does this do for you? Read the following…
The Snagg system relies on the power of the World Wide Web to connect owners with their priceless possessions. When an item is reported stolen, Snagg begins scanning their partner databases for these stolen items based on serial number, model number or other information. We even provide pictures to positively identify your product to pawnshops worldwide. When your item is flagged stolen, a report goes to necessary authorities including all information. The report includes instructions for obtaining a scanner if one is not readily available. Usually police use one of 400,000 standard pet scanners already available nationwide to prove the identity of the owner and return your asset.
Okay.. I like this action. So this adds a few steps to acquiring your gear. Some guitars/gear can be modified (serials removed, etc)… I like that the thief would not know about the RFID, and the possibility of getting back the original gear is improved.
So I got a SNAGG 5 pack and thought of tagging a couple of pieces of gear. Great opportunity for a how to!
Step 1 – remove the strap button or another location on the guitar. For my Jazzmaster, I’m choosing the top strap button.
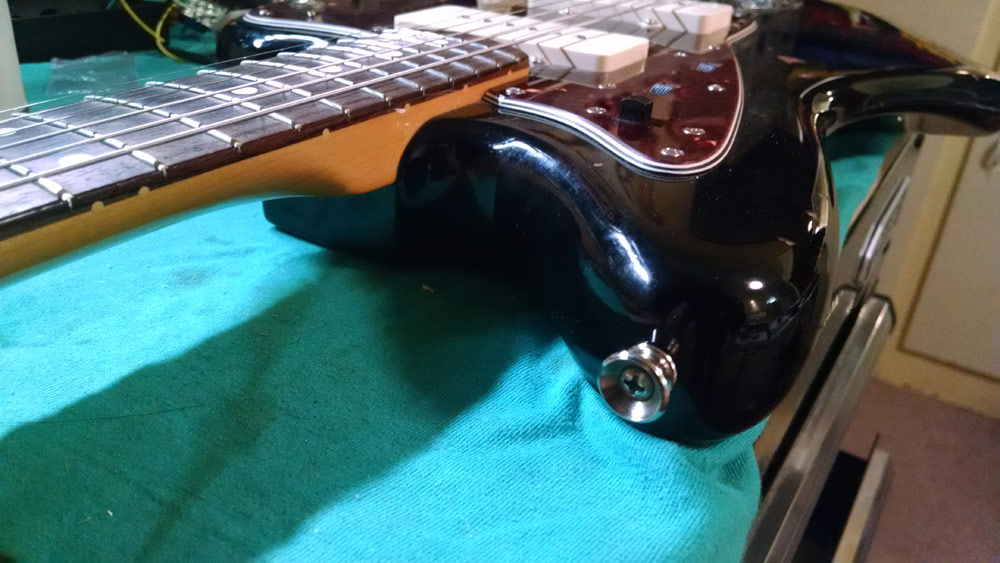
Step 2 – Once the screw and button have been removed, we will lengthen the hole. We don’t want to widen or damage the threads.. so be careful.
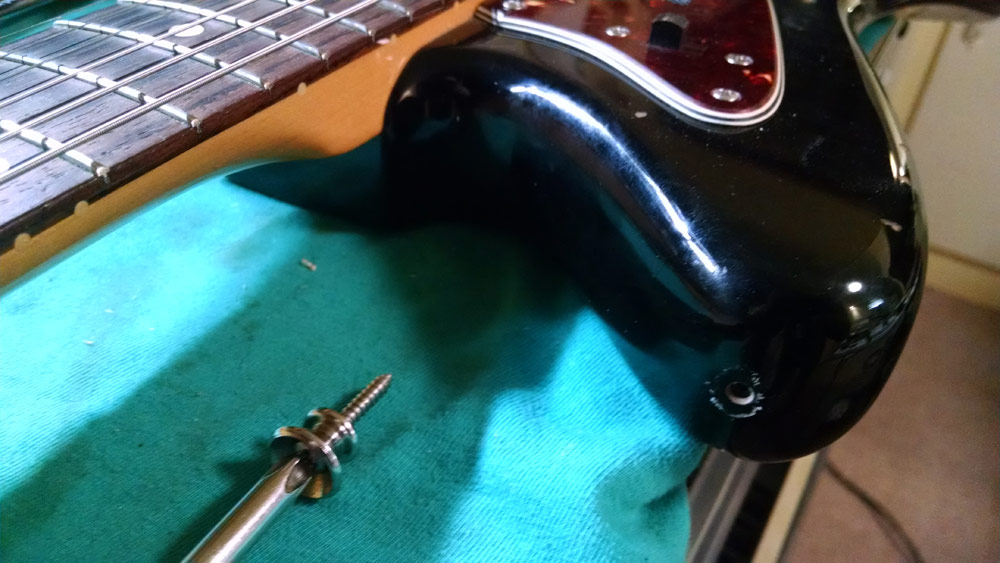
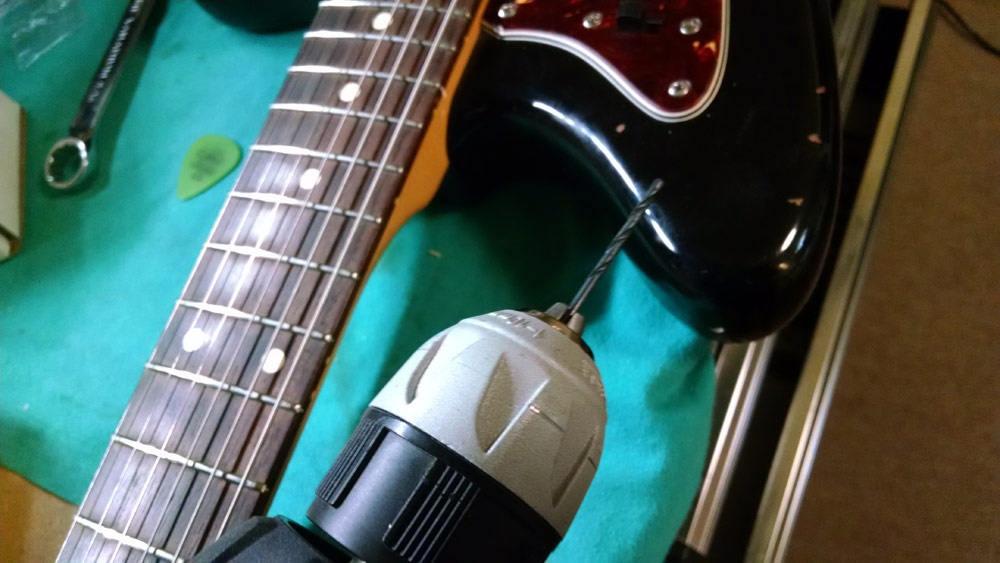
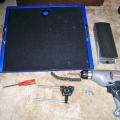
Step 3 – The kit comes with the appropriate drill bit. Like I said.. keep it straight. Your goal is to extend the hole. Not widen!
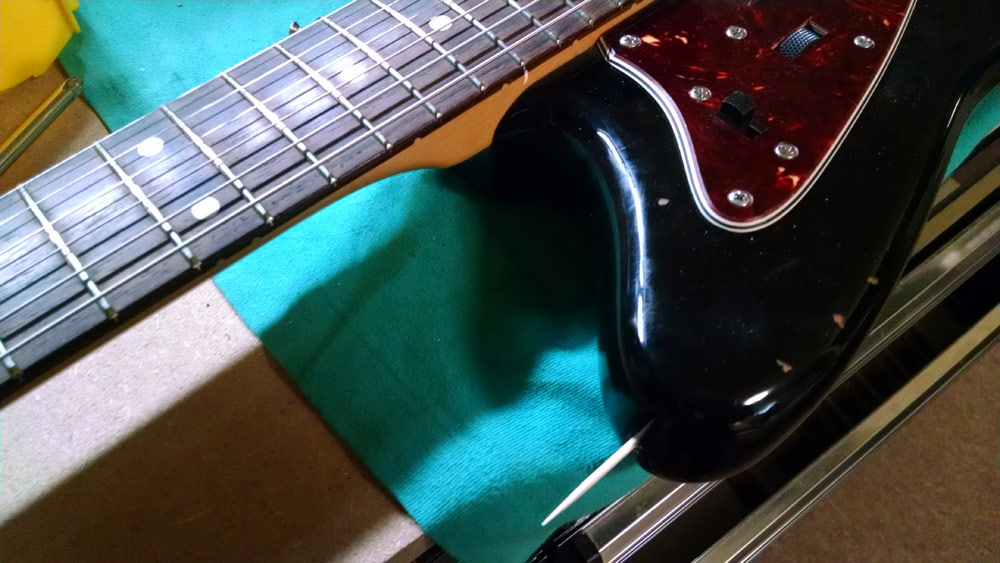
Step 4 – I used a toothpick to measure the extended depth. The depth needs to cover the screw AND the RFID microchip.
Step 5 – Reference the microchip for the length. It’s quite small!
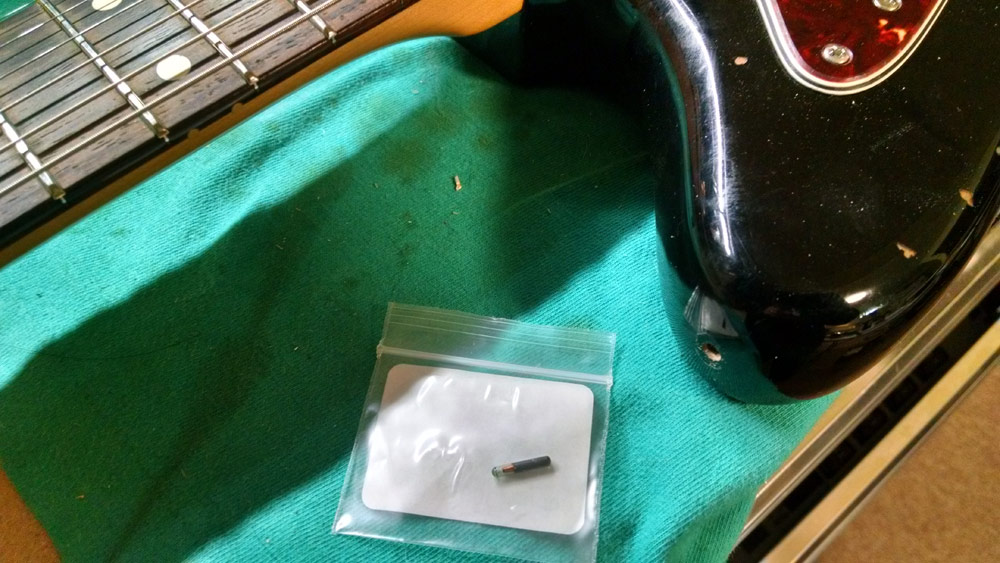
Step 6 – I used some loctite. I’m sure super glue or wood glue would work. You just want it to be secure in the hole.
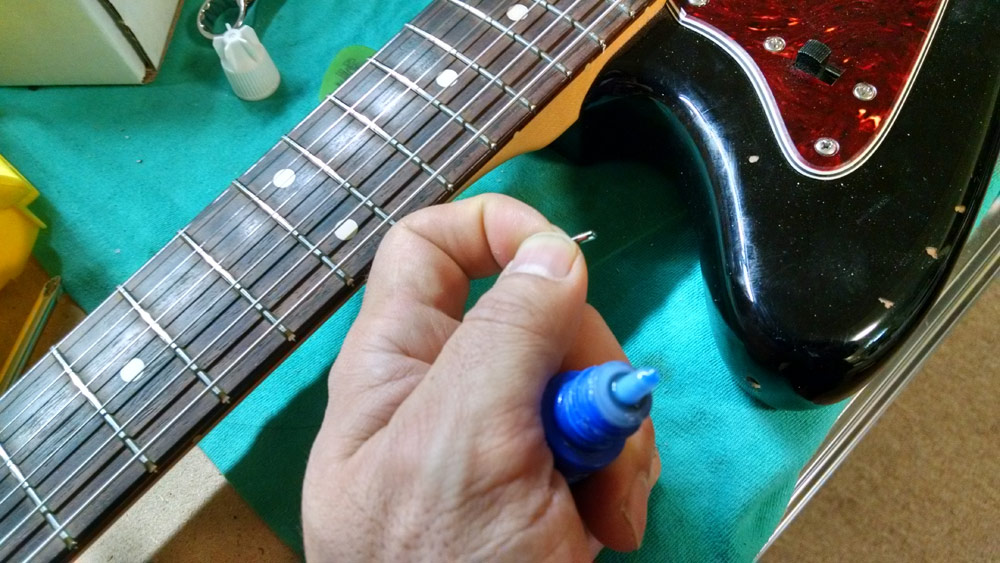
Step 7 – insert the microchip and push it back with the toothpick. Once the microchip is secure, rescrew the strap button, and you’re done!
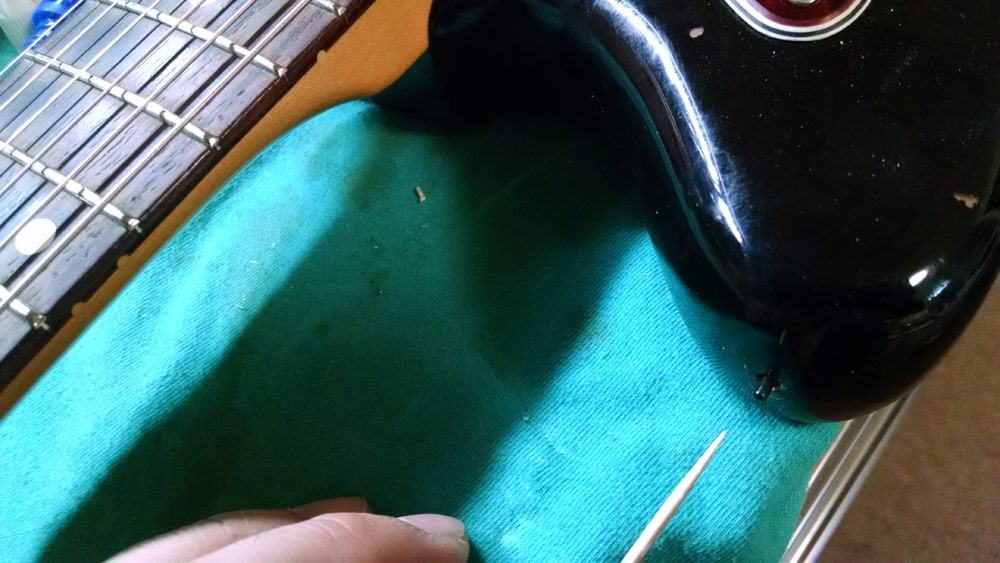
I thought I would do it to my amp as well. You can barely see the screw and the hole is covered by the back plate. RFID causes no interference or noise with the guitar or amp.
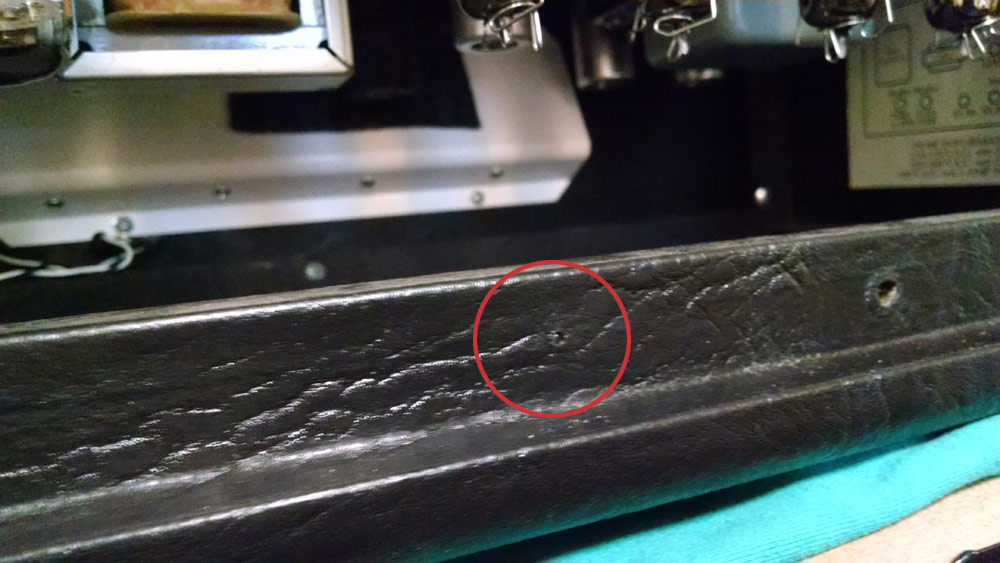 As you can see, installation is super easy. Once you’ve inserted the microchip, the ziplock includes a long number. This is the number associated with the particular microchip. Write that down.. like a serial number. Next, create an account at Snagg and register the RFID number and provide some information about the item. Account and registration is free!
This is something I hope I never have to use, but the concept is cool and definitely doesn’t hurt.



Leave a Reply