The following is a guest post by A. Bovara. If you are interested in guest posting, please contact me!
I’ll start off with my first impression of the Pedal Labels once I took them out of the envelope. I don’t know what they are made of, but is sure isn’t just another paper label with a different type of adhesive. It’s some sort of plastic or vinyl label. They are easy to get off the backing paper and feel sturdy.
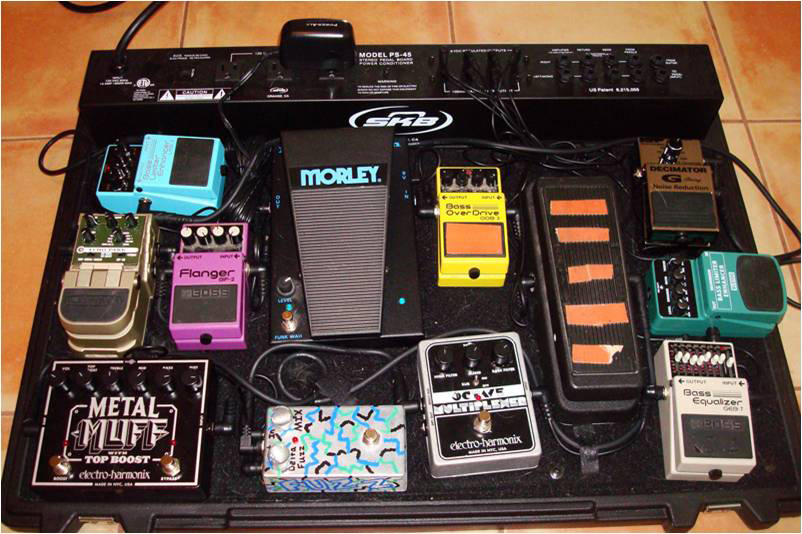
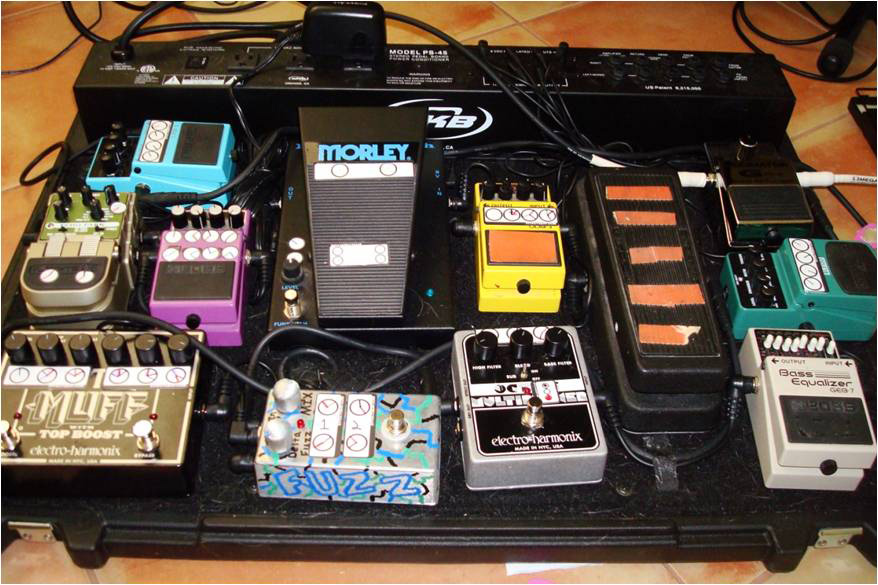
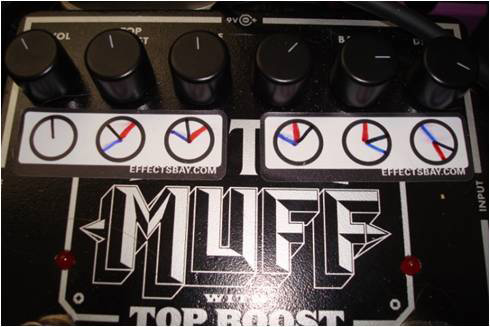
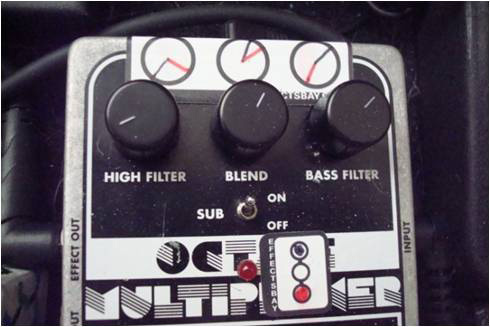
While I was applying the stickers to some of my pedals, it occurred to me that the single knob labels fit perfectly on top of the Electro-Harmonix knobs. Don’t put the stickers on the actual knob. Doing this makes it just as difficult to find your setting as not having the label in the first place. Not that I actually did that…just sayin’.
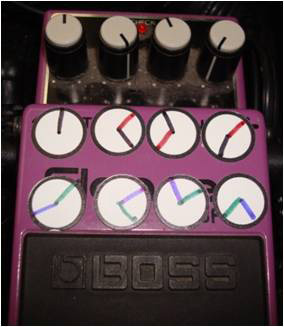
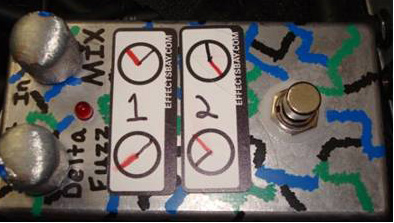
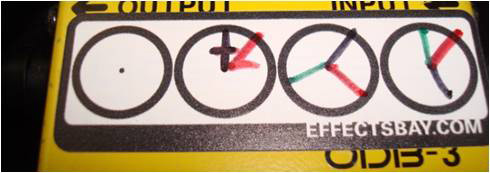
It is also imperative to use the right sort of marking tool. Different and bold colors make your settings easy to see. Black, blue, and green look very similar, especially in poor lighting. I find the best combination of colors, for multiple settings on each label, to be black and red. They stand out, are easy to see from an arms distance away, and easy to differentiate quickly in the dark. I found that after two different settings per label the markings start to get crowded. I then started using two labels to spread the settings out in more space. This keeps the markings clear and easy to read, especially when some markings are very near other markings
The labels are easy to remove from the pedals once they are applied. This is particularly important if you are like me and can’t put a sticker on straight with fewer than two attempts.
I’ve seen some questions about how to consider stacked knobs when using these labels. It’s really quite simple, use a long line and a short line.  It looks like a clock. However, the label circles do get crowded quickly when using long lines and short lines for stacked knobs. You could also use a single knob label above or below the main label to indicate a stacked knob setup.
After having the labels on my pedals for seven days, I pulled them all up to see if they affected the pedals in any way. I have a hand painted pedal, a bunch of standard metal case pedals, and a plastic pedal. None of the finishes, factory decals, or paint were peeled or damaged in any way. I was actually very impressed that not even the hand painted pedal, panted with cheap paint markers, had any damage to the finish. I also put a label on a guitar just to see if the label would damage guitar finish. It wasn’t. Even though this is not the original intent, these labels appear to be perfectly safe for common guitar finishes. So, if you are the type that has a bunch of onboard settings or switches, these could be used to indicate you axe’s control settings as well.
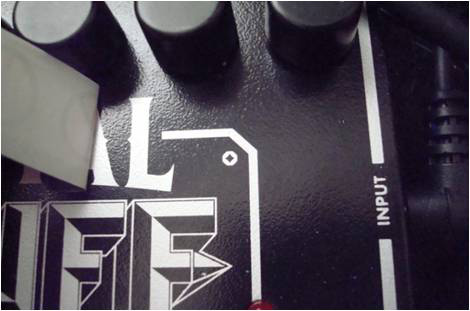
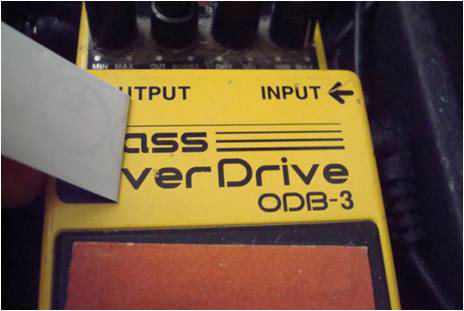
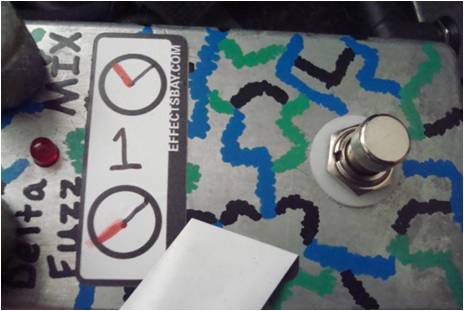
While I was taking all the labels off of my pedals, I put them back on the original backing sheet. Once I had them all off, naturally, I wanted them back on. When I put the labels back on the pedals, they held just as strongly as if I didn’t move them from place to place at all. This gave me the idea that you could have a “library†of labels and settings for the same pedal used in different circumstances. If I’m doing a college party this weekend, I could put my party labels on. If I am playing a wedding the weekend after, I could take the party labels off and put my wedding gig labels on instead. These pedal setting labels have the potential to be much more versatile than initial assumptions make them out to be.
As far as the label assortment goes, I was pretty happy with it. I hemmed and hawed a little on how to set up the labels on my octave pedal. I would have had to punch a hole in a three knob label to get around the switch. but then where would I put the switch label? I figured it out without too much brainpower application, and it works out fine. The real magic in the label selection is the single knob label sticker and how many you get. You can augment any other label with a single knob sticker. Or, if you don’t need each knob to have a label, just use the single labels for the knobs you want. It is also easy enough to combine multiple labels if your pedal has five or six knobs that need settings marked.
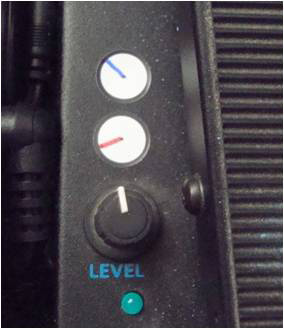
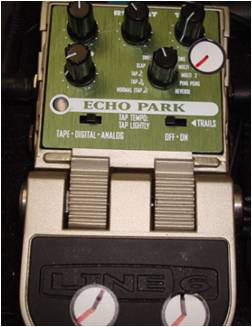
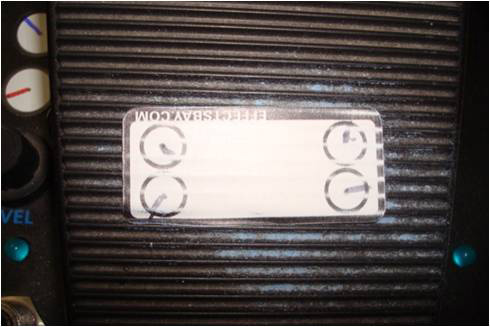
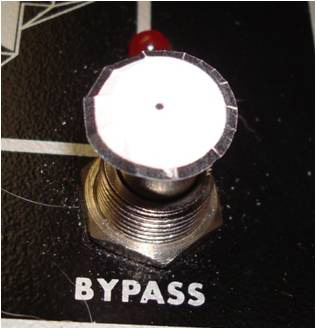
I wanted to test the durability of the labels, so I put one on an effect on/off switch and a few on one of my wah pedals. After a week of playing on them for at least two hours a day, there was hardly any damage to the switch label and no damage to the wah labels. You can see in the above Echo Park picture that I put two of the labels on the tap tempo/on-off selector and they look just fine. I wasn’t satisfied with that, so I took some steel wool to the labels on the wah pedal. I gave each of the labels a vigorous 30 second steel wool scrubbing and they are still perfectly functional.
The Bad
I would like to see seven to ten slider stickers for recording different pedal EQ settings. That’s all I can really thing of that would be a negative.
Overall.
The pedal labels fill a need that some players have. If all you are running is a simple overdrive pedal and a tuner, these are not really going to be worth your time. However, If you are a frequent tone tinkerer and knob twiddler, these labels can be really useful tools for recording your favorite or most used settings.
I am definitely going to keep the labels on my pedals, they are to useful not to. I generally remember all my settings, but sometimes I have to mess around with a knob a little too long to get it right where it needs to be, especially on my flanger and Metal Muff EQ section. I am even considering getting a few more sheets of the labels to start the settings library I mentioned before.
Admin Note:
Pedal Labels can be purchased at PedalLabels.com

