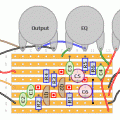
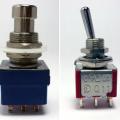
This was a fun project for me. I’ve been messing around with Vero boards while working on circuits for pedals for myself and friends. Vero is easy transition from breadboard to a working board, but it’s sort of a pain. You have to add your break out points with a drill bit, so you need to really make sure you’ve measured properly, or you’re going to have to start over, etc. If you need to make more than one, a PCB or printed circuit board might be a good direction. I’ve never designed my own board, but figured I would give it a shot last weekend.
I use the program DIY Layout Creator which is fantastic for laying out components and getting your traces from schematic to board. Like I said, vero is super easy to convert from schematic to board, but PCBs have a bit more difficulty since the lines have to be continual (actually, I’m sure you can add some jumpers, etc.. but I wanted to avoid it). It was fun challenge.. like building a maze. After a couple of revisions, I had a design and it looked like it was going to work.
The technique I ended up using was the lazer paper (not transparency). The concept is to print circuit on a piece of lazer paper then transfer the toner to the copper clad. I had a old workhorse lazer printer, so I figured I’d fire it up again. I’ve seen people talking about paper, and that some paper does not transfer the toner very well. I’ll describe what I have so you can get close. The printer I used was a HP LazerJet 1100 and the paper I bought was Staples brand color laser paper (96 bright, 32lb item# 633215).
After creating your circuit layout in DIY Layout Create, you would print on the paper. I first had to open up the rendered PnP in photoshop (change the scaling) to get it to the right size on the paper. Don’t reverse the diagram, but if you have text, you’ll need to reverse the text so it will transfer correctly on the copper clad.
I used double sided copper clad from Radio Shack (if you can, find/use single sided copper clad). I used double sided.. because that is all I can get here. I’ll be ordering some thinner single sided copper clad in the future via eBay.
Cut the copper clad to size. My piece was 2.25″ by 2″. Some people score the clad and snap it. I chose to use a bandsaw with a metal cutting blade. Cut it like butter.
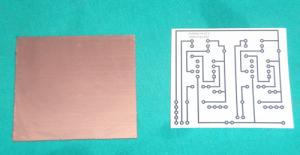 You will need to clean the copper with Isopropal alcohol to remove any grease, fingerprints, etc. Next lay the image face down on the copper.
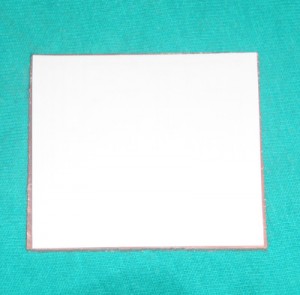 Now we need to apply heat to melt the toner on to the clad. I used a iron on a high setting. I would press hard for about 30 seconds then press on different areas. Be careful not to dislodge the paper. That will smear and you will need to clean the copper and start over.
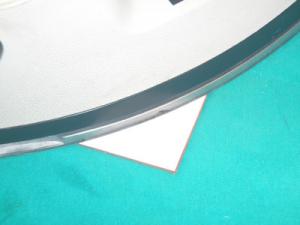 The paper will actually bond with the copper. Let it cool for a few minutes then submerge it in a container of cold water. I left it in there for about 15 minutes. The paper began to wrinkle.
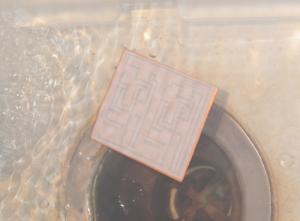 Look for the paper to be wrinkly. The paper should be naturally be pulling away from the copper clad
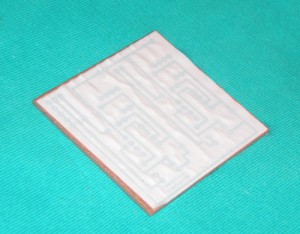 Gently (I repeat gently) pull the paper away. If you do this too quick, you’ll pull the transfer off of the clad which causes a break. Once the paper is off, you’ll need to clean off the rest of the small pieces of paper ‘hair’ that is still bound to the clad. Gently wipe those off with your finger.
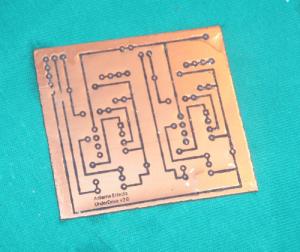 Here is a shot of my clad with the print freshly removed. I did have two breaks on the upper left corner. So I needed to fix these before going to the acid phase.
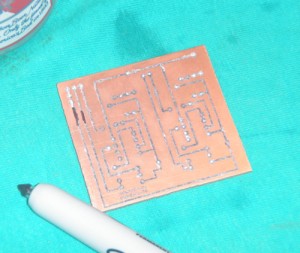 You can fix the broken traces by marking them with a fine point Sharpie. Make sure your copper is dry before fixing the traces.
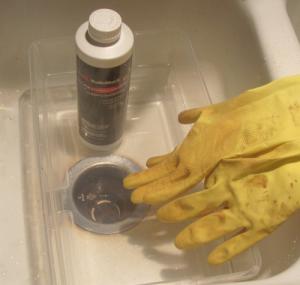 Now, we’re ready to apply acid to remove the exposed copper. I used Ferric acid from Radio Shack. You can use Mucaric acid, but I believe that is bigger mess, including ventilation and corrosion issues. I wanted to start with Ferric since it seems a little easier to work with.. but is more expensive. I used rubber gloves and a plastic container.
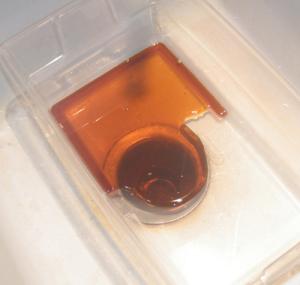 You don’t need much acid. I used about 2 cups or so. I tip the container so the acid pools at one end.
 Put your piece of copper clad in the acid and let it soak for about 15-20 minutes or so.
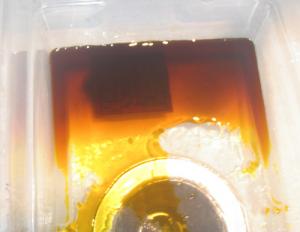 With this shot, you can see the copper being eaten away. It’ll look like black mist pulling away from the copper clad. You will start to see the yellow mustard (depending on the copper clad you bought) of the plastic PCB.
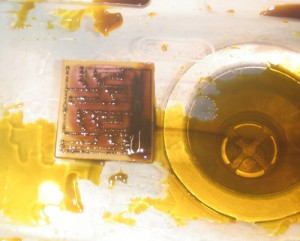 The edges are the first to go. Here you can see the yellow starting to appear. When it’s all done, I poured the Ferric acid into a jar to reuse on the next etch project. Not sure how many times it can be used. Wash off the PCB with water should be yellow with black traces. I wipe off the toner with more alcohol, and if it’s really stuck, I used a S.O.S pad (gently!)
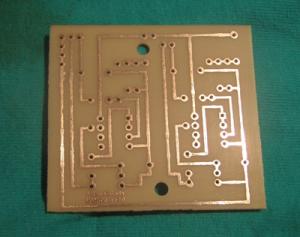 When you’re all done, you’ll need to drill the holes. I used a #60 drill bit on a drill press. I might go a little smaller next time, but it worked. Also, I’ll probably be looking at some tinning solution next time. Soldering direct to the copper took more work than I thought.
Hopefully this little how to will help on your first etching project. I was surprised how easy it was.


